Monday, May 30, 2011

Sagging bottom panel on 2004 Toyota Camry: SUCCESS!!

--adventure by Tones--

For years, my wife has been complaining that something has been hanging low on her Camry's underbelly causing a scraping sound every time she drives up and down our driveway.  I've put this off for other projects over the years, but I finally had some blog-inspired motivation (and a new garage) to tinker around and see what's up.


My maw has a jack at her house that is coming my way now that I have a new garage, but I'll have to make due with these ramps in the meantime.  They always make me nervous driving up them, but a man's gotta do what a man's gotta do, right?

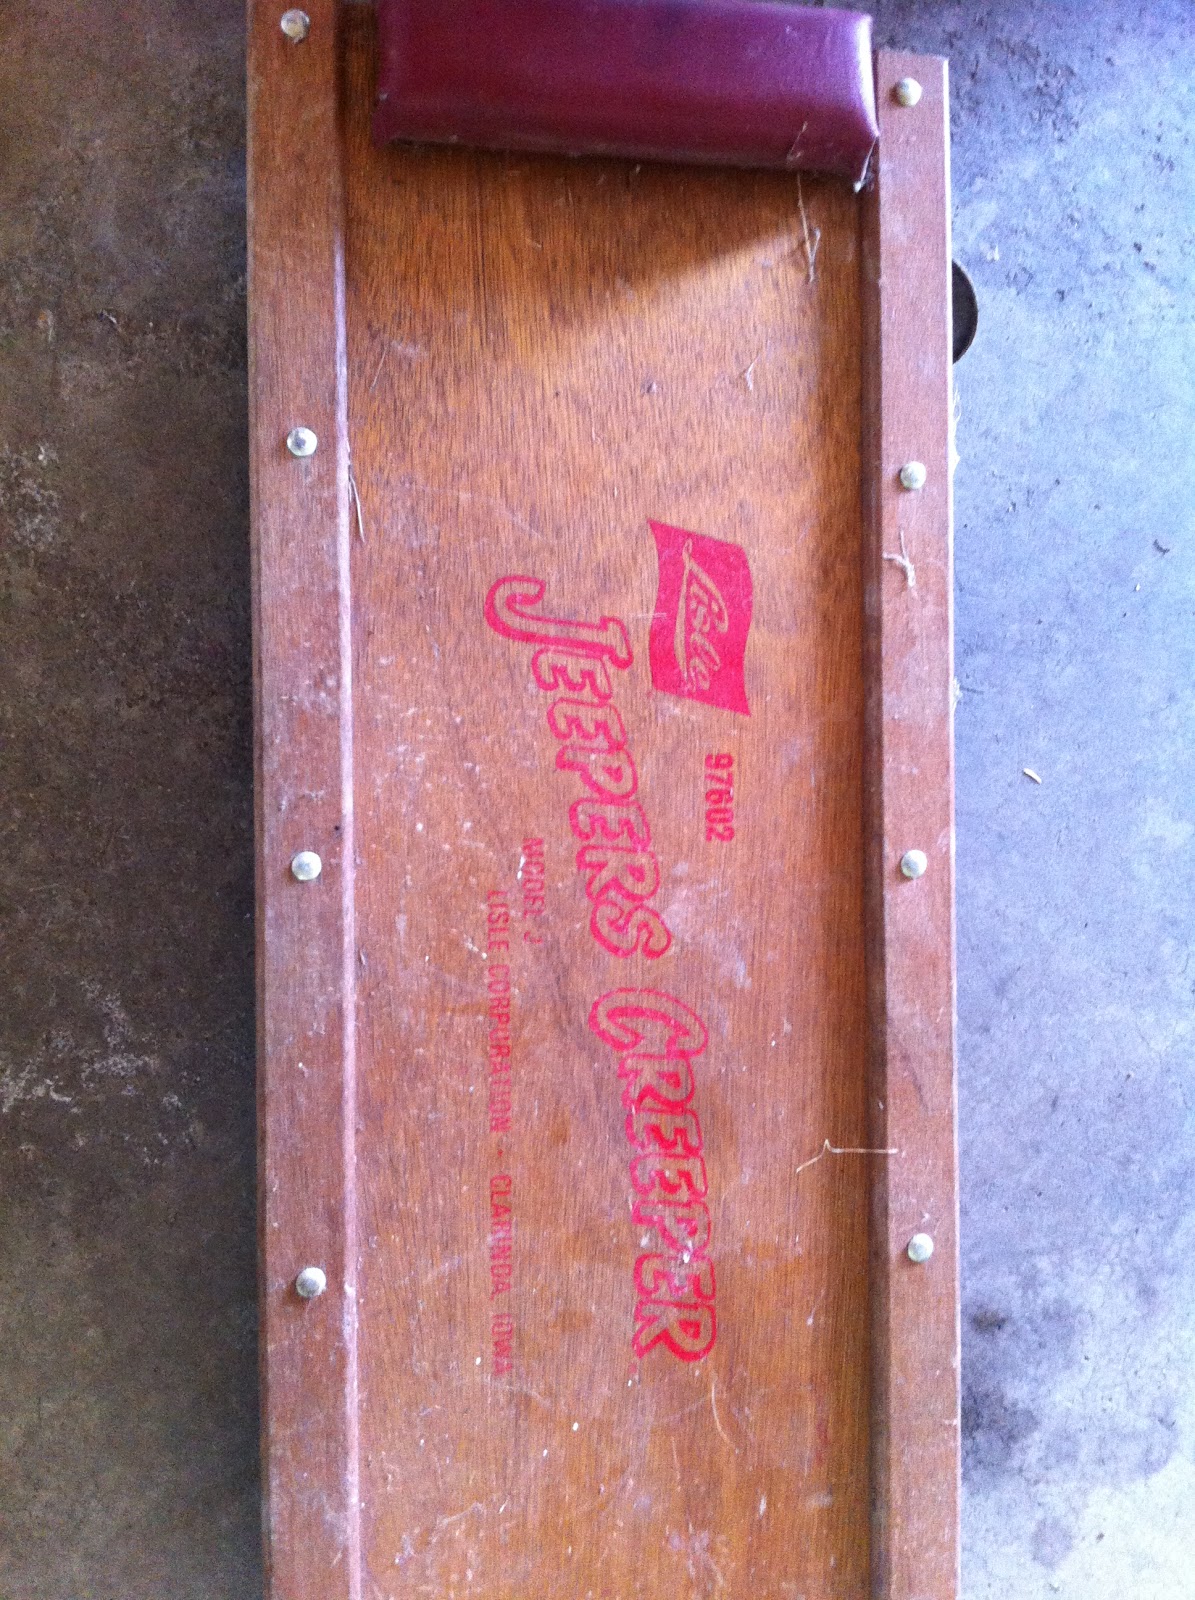
Car on ramps: SUCCESS!  Now it's time to take a peek and see what's going on underneath the car.  I've been holding on to my Dad's old Jeeper's Creeper for a decade, waiting for a cool garage in which to scoot around.  Finally, I get a chance to scoot under the car in old-school style.
The Jeeper's Creeper.  Sweet.
I took the creeper for a test scoot, but I was a bit disappointed in the performance.  It rode kind of like that one cart you get at the grocery store that pulls to the left.  I put the Camry project on hold for a while to investigate.

Turns out that my dad must have run over some shag carpeting back in the day.  I attacked this wound-up string with a needle nose and removed it with relative ease.  After a quick shot of WD-40, and the Jeeper's Creeper rode like a dream!  SUCCESS!!

Whew!  It's getting to be about noon at this point so I reckon it's time for a quick Coffee Break. 

Starbucks French Roast.
Okay, where was I?  Oh yeah, the Camry.  I scooted under the car with my sweet new ride and found that the plastic panels were sagging as they dropped two of those plastic pushy-things (grommets?). 
Metal housing above, plastic cover below.  They need to meet.

One of the two sagging panels.


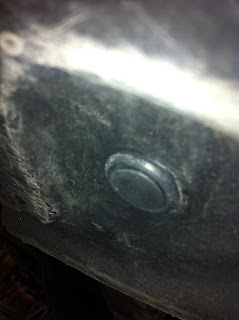
One of the grommets still intact.


I need a grommet here...
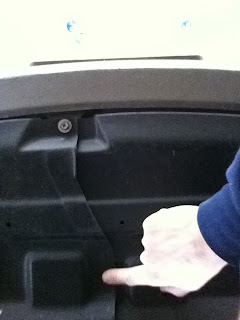

...and here.
Knowing that I would never find a grommet in the garage, I found myself looking for an alternative.  Maybe I'd find a self-tapping screw or something, who knows.  Duct Tape is a no-go: no style points there.  ZipTies, on the other hand, are not only acceptable, they are encouraged.  If I could fish the ZipTies through the grommet holes in the metal beam, I could be in business!
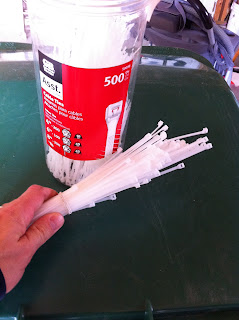
BINGO!
The first panel was an easy fix as the grommet hole was drilled out in an open-ended metal housing. Threading the ZipTie was simple and I was halfway to SUCCESS.


zzzzzip!

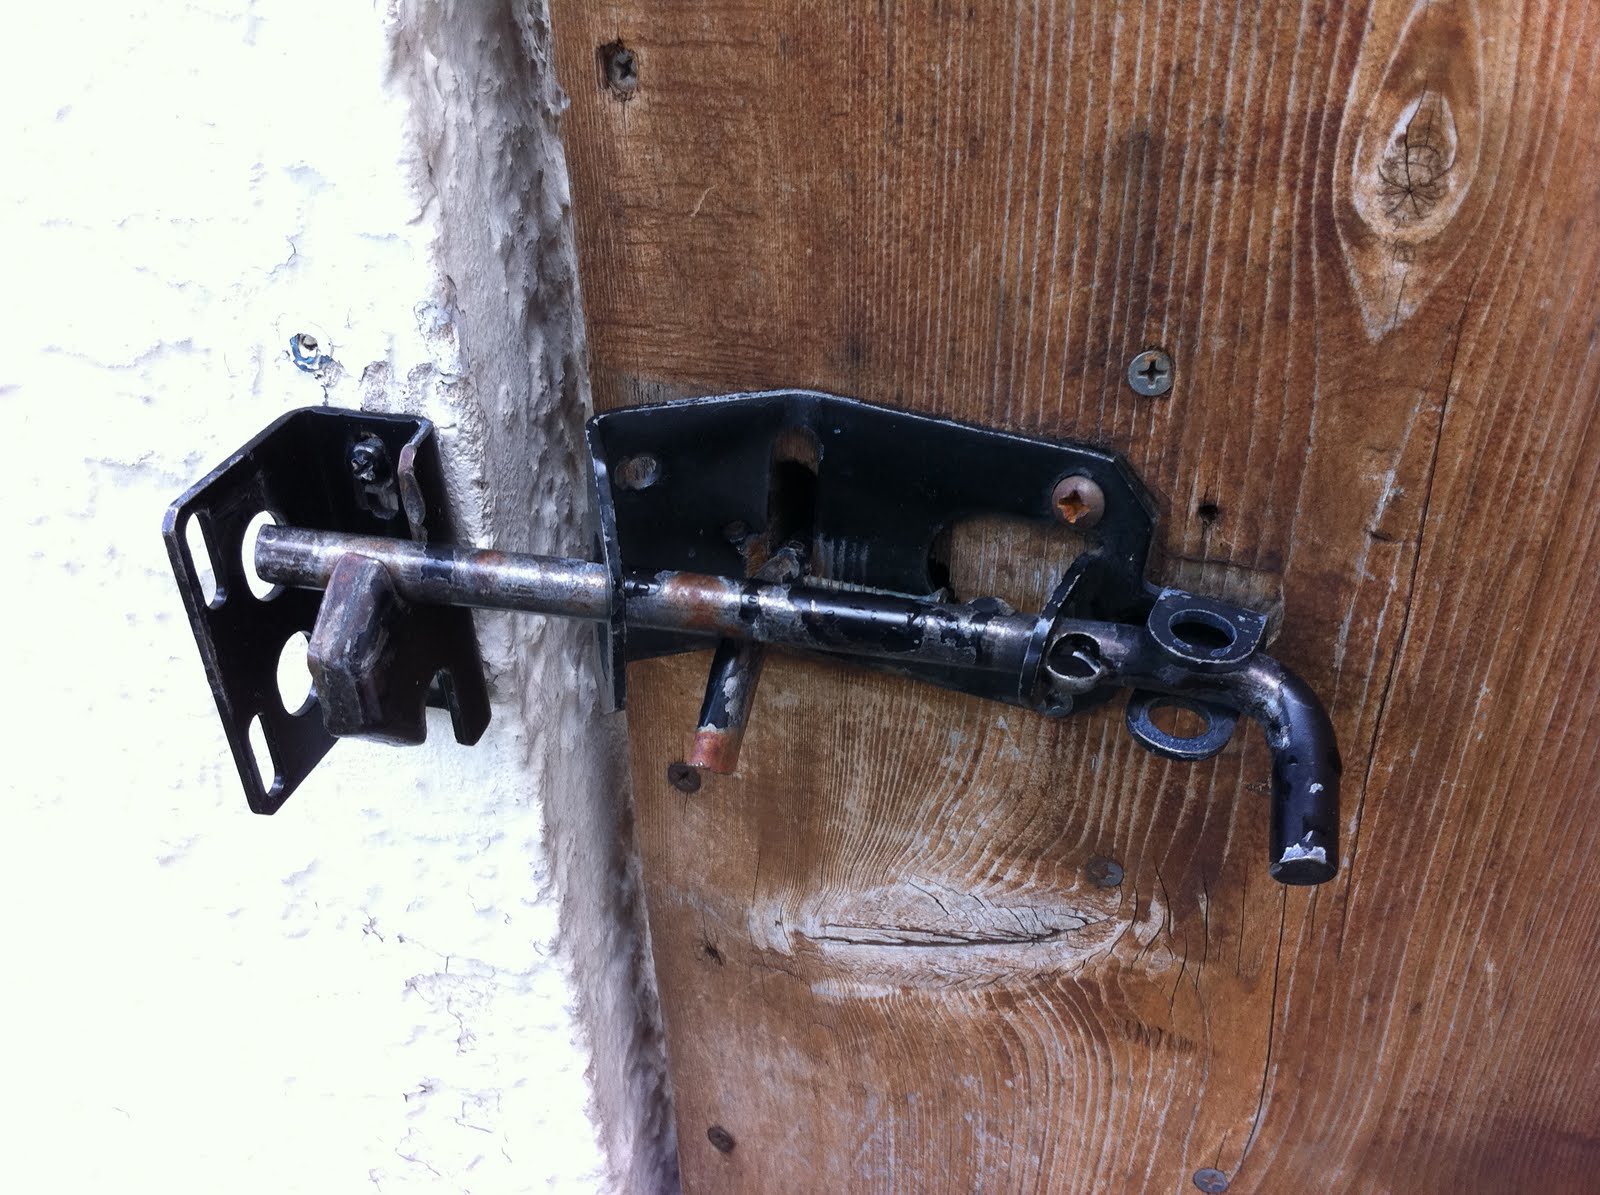
Unfortunately, the second grommet hole was a bugger.  It was drilled out of an enclosed metal beam, so making the necessary "loop" for the ZipTie would be tricky indeed.   Noticing another hole drilled out of the beam a few inches away, I found a possible "loop," but how would I finagle the ZipTie in and out of the beam?

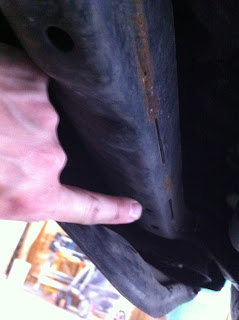
I'm pointing to the Grommet hole.  Note the secondary hole an inch or so downward.  How do I get a ZipTie threaded in that?

Fortunately, I have years of ZipTie experience and I'm quite adept at pulling off the impossible with these things. With a trademark move called, "The Selby Hook," I bent the very tip of the ZipTie and made a secondary bend a few millimeters upstream.  This made this potential boondoggle almost laughable.  Man, I'm good with these ZipTies.

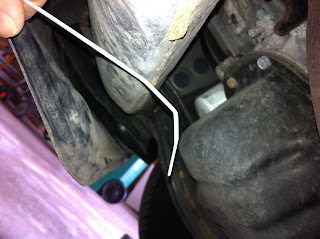
The "Selby Hook."  (Pat. Pend.)
Amazing, aren't I?
With the ZipTie threaded, all that was left was pulling things tight and snipping off the ends.

zzzzzip!

SUCCESS!
With everything holding tight, I took my wife's car for a test drive up and down the driveway a few times.  I didn't hear any scraping sounds, so I'm calling this a SUCCESS!!!  I also found a half-bag of peanut M&M's in the car... BONUS POINTS!

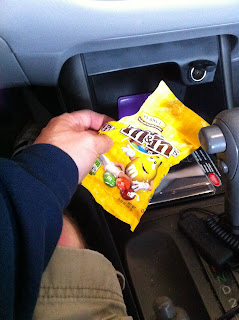
Payment for my labor.


Sunday, May 29, 2011

Broken gate latch: SUCCESS!!


This is the gate into my back yard.  I love this gate, or at least the idea of this gate.  The gate itself kinda sucks.  It doesn’t really fit into the frame and the latch is super crappy.
This is the latch:


note extra screw.


When we moved here (last year) I bought a new latch.  Clearly that’s as far as that project ever went.  Now that I have a blog, I finally have a reason to fix things.
First, I opened the package to make sure that the latch I bought matches the one I am removing.  It was not the exact same, but it was pretty close.  Close enough for my style of fixin’!

Next I removed the old latch using my trusty leatherman.  Clearly, there have been a number of latches installed here before this one.


Now I need to install the handle that faces the outside.  The instructions say that I should use a lag screw on top, but they give me a regular nut and bolt for the bottom, stating that the bolt should go through the gate and the nut should screw on from the inside of the gate .  This won’t work for my gate, as there are too many layers of wood and the bolt they gave me isn’t long enough.  This seems silly to me.
I decide to install the top and deal with the bottom later.  In order to install the lag screw on top, I need a ½” socket wrench, so I turn to my tool box.  I notice that I have all of the pieces to my socket set, as I am a firm believer in ALWAYS returning tools to their place!
Once that is finished, I moved on to the other side of the door.  For this step I need my drill.
I discover that the battery is cashed from whenever I last used it, so I plug in the battery and take a break, fixing stuff is exhausting!

Once my battery is reacharged I attach the inside part of the latch.  There isn’t much to this, since it just lines up with the lever from the front.
Next, I measure where the latch attaches to the wall and notice that I will need to drill new holes for the screws.


After a few minutes of drilling, I realize that I am not going anywhere, and my drill bit is covered with metal shavings.

I decided to buy a special drill bit, one made for drilling into masonry.  But first, I make dinner for my family.


After drilling the holes, I insert a couple of plastic anchors and attach the rest of the latch.


The last step is to deal with the bottom of the front handle, remember the nut and bolt?  When I was at the hardware store, I picked up a package of lag screws.

Success!!
-G


Friday, May 27, 2011

Warshcloth in Garbage Disposal... SUCCESS!!!

--Adventure By Tones--

I was on clean up duty after hosting my maw's surprise 60th birthday party.  I had to really attack a couple of nasty broilers.  Cleaning broiler pans could be an adventure in itself, but a little patience in soaking the gunk in hot water and suds makes things go a bit easier.


Thinking ahead, I warshed the pan in the disposal-side of the sink as I figured all the floating bits of Uncle Ed's smoked pulled pork would go down a bit easier with the help of the disposal.  When I was done scrubbing, I turned the pan over to drain and found that the water was standing in the sink.  Easy fix:

To my dismay, the disposal did not fire.  Rather, my kitchen lights dimmed and the disposal only hummed.  FAILURE!

My next step was some cautious exploratory action:


I could feel that a warshcloth had made its way down into the disposal and seized the blades once I turned on the switch.  C'mon!  My instincts took over and I yanked the crap out of the rag until it finally broke free.  Unfortunately, there were still enough threads stuck in the blades to keep things seized.  These threads wouldn't budge, even with my trusty Hemostats (my M.V.T., Most Valuable Tool).

Out of desperation, I tried the reset button (found underneath the unit), even though I knew that this would do no good as I was still getting power to the motor, hence the humming noise.

this is a dark picture, but note the red reset button.
Of course, the reset button did no good, so it was time to regroup and think this over.

After a quick breather, I did some research and found that there's a 1/4" allen screw on the bottom of the unit to manipulate the motor's shaft.  If I could reverse the shaft of the motor, the blades should open up and I could get enough of the threads out to free up the unit.


Here's where you stick your 1/4" wrench

Check it out! The caddy is complete!  No missing allens at home.


I tested the unit after freeing up most of the threads... SUCCESS!!!